
You may remember this purse I made using techniques Ann Brauer uses in her work.
Since I was obviously an expert after doing one project, I was asked to do a demo on this technique at my guild meeting a couple of weeks ago.
I thought I would share it here as well.
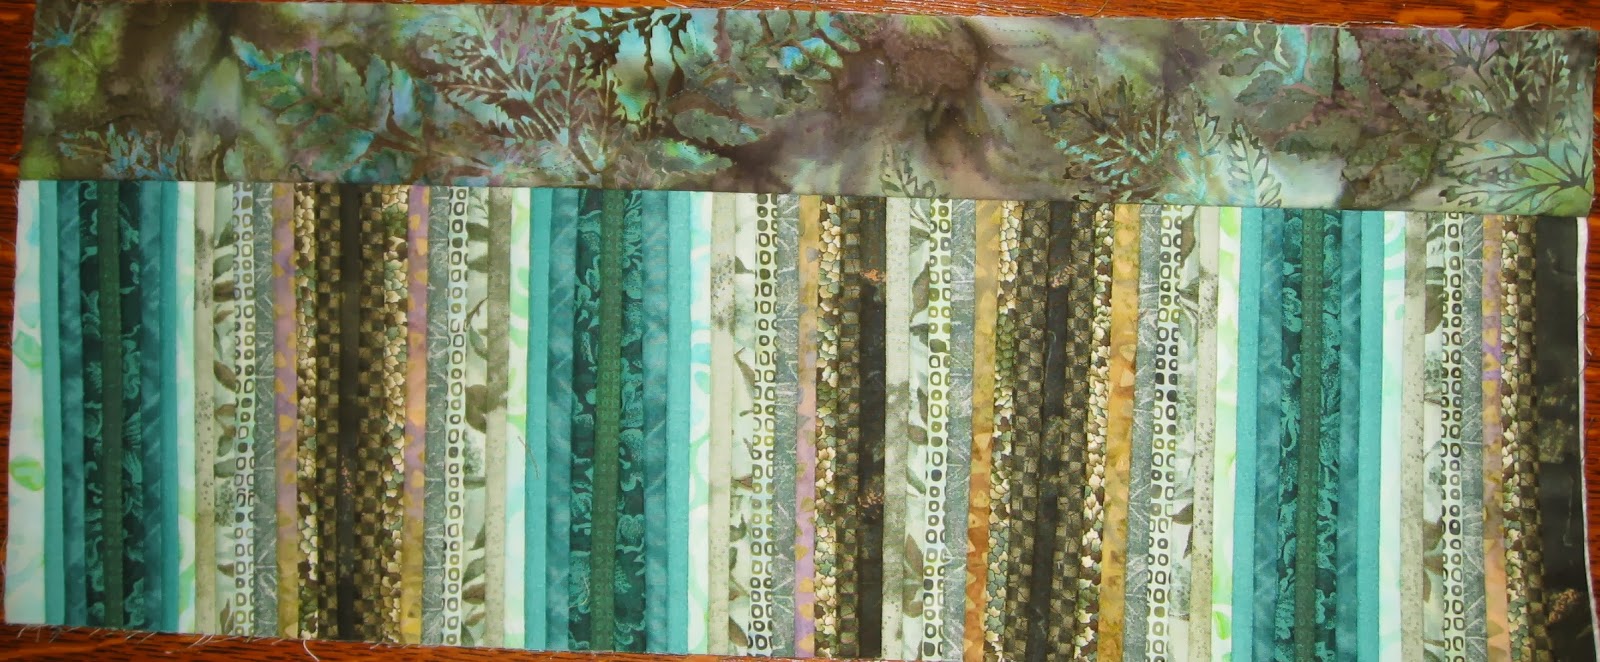
The first thing to remember is that to do this skinny strip technique, you need a LOT of skinny strips. You are using 3/4" strips. They finish at 1/4". So if you want a 10 inch piece, you need 40. And when you choose the fabrics, leave those pieces you don't think quite "go". They will add a little sparkle to the piece. This is the before and after of the fabrics I used for my purse. See how much better they blend after sewing? But the "odd birds" add a little something here and there.


Mark registration points every couple of inches. This is to keep the strips straight as it is very easy to slant them as you sew.
See the green sample below. The strips at one end are skewed. Of course, if you don't care about keeping them straight you can skip this step.

I usually lay the center strip right on the marked line closest to the center of the batting, right side up. Lay the next strip right sides together and sew a quarter inch seam. I use a walking foot.
You can work all the way out from the center on one side, the flip it to do the other, or do every other side out from the center. Just make sure you know where you are so you don't mix up which strip to sew next.

This shows the difference in size from strips to finished piece. The taupe sample has 19 strips. The bright one has 23.
I don't know yet what the bright one is for.
I brought it to pass around so all could feel a piece of the fabric you get with this technique. It is softer than many thought it would be.

I would really like to do one like this next!

Ann shares her process on her blog now and then. You can see how she assembles her larger pieces in this post.
A quick "green" thought.
Let's all remember that being environmentally conscious is a lifestyle, not a fashion statement. Most places selling t-shirts, bags, bandanas.... with eco-friendly logos or sayings on them just want to sell you something. So don't buy it unless you need a new one anyway. And then look for one made with earth friendly materials.
I am grateful for:
Being part of a group wrapping needy friends in our love.
A rainy day so I can catch up on the puttery stuff inside.
Cuddling my babies at the shelter one more time.(But I hope they aren't there the next time I go)
I finally got my ear unplugged!
Walking through dry fall leaves and listening to that sound they make.
I love this technique! Your fabric choices look gorgeous together!
ReplyDeleteI was so happy to find this. Been looking a while. Thank you!
ReplyDeleteMake sure you check out Ann's blog as well. She shows her process now and again! I'd love to see what you make with this technique.
DeleteThanks for reading!
Thanks! I've been hoping to find an Ann Brauer tutorial!
ReplyDelete